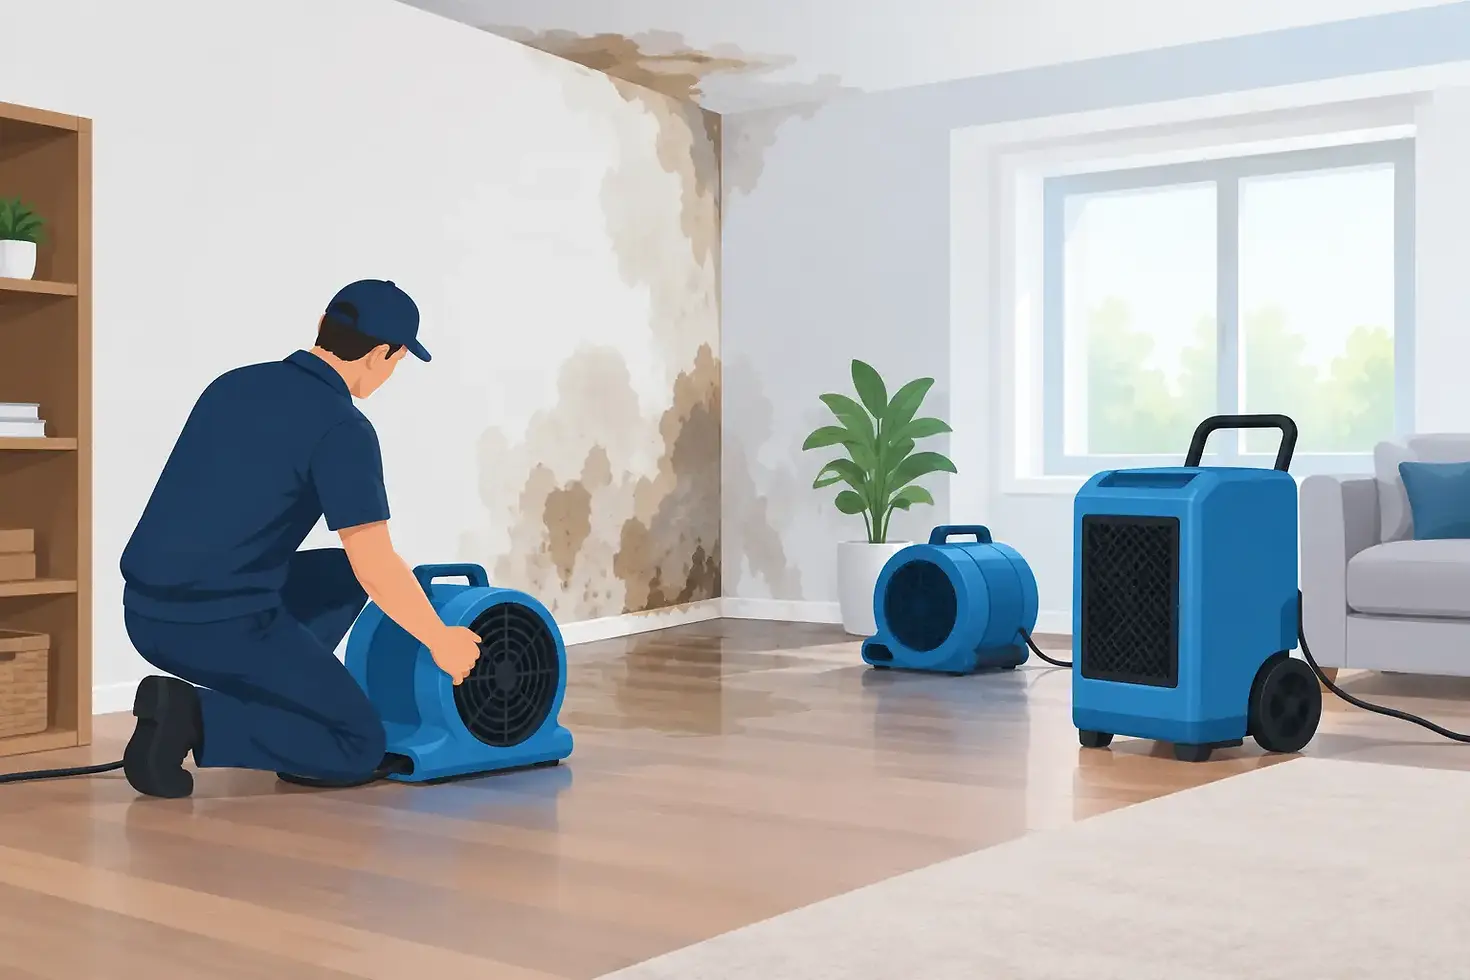
A Moisture Damage Restoration Example

A moisture damage restoration example is most useful when it shows what happens beyond the visible stain. A discolored ceiling, soft baseboard, or musty room may be the first sign a property owner notices, but the real concern is often behind the finished surface. Water can travel through framing, insulation, flooring layers, and wall cavities before it becomes obvious.
Consider a common scenario in an older South Shore home: a slow plumbing leak develops behind a second-floor bathroom wall. It does not create a dramatic flood. Instead, it releases small amounts of water over several weeks, affecting the wall cavity, subfloor, and ceiling in the room below. By the time the homeowner calls for help, the ceiling has begun to sag and a persistent odor has appeared in the adjacent hallway.
This type of loss requires more than removing wet drywall. A proper restoration process identifies the source, limits contamination, dries the structure to an acceptable condition, addresses any microbial growth, and restores the home without leaving hidden damage behind.
The Initial Assessment: Finding the Full Extent of Damage
The first priority is stopping the moisture source. In this example, a qualified plumber repairs the leaking supply line before remediation begins. Drying a building while water is still entering it wastes time and can allow damage to continue.
The restoration team then documents visible conditions and investigates materials around the affected area. Moisture meters, thermal imaging, and careful inspection can help identify elevated moisture levels in locations that look unaffected on the surface. The ceiling below the bathroom may be wet, but testing can also reveal moisture in wall framing, insulation, the bathroom subfloor, and baseboards in the room next door.
This assessment stage matters because materials respond differently to water exposure. A solid wood stud may be dried successfully if addressed promptly. Saturated fiberglass insulation, swollen particleboard, deteriorated drywall, and delaminated flooring often cannot be returned to a reliable condition. The goal is not to remove every building material near the leak. It is to remove only what cannot be safely dried or restored while preserving sound materials whenever possible.
In older Nova Scotia properties, assessment also needs to account for hazardous materials. Drywall joint compound, flooring adhesives, pipe insulation, ceiling textures, or other materials may require testing before disturbance if asbestos or lead is a concern. Cutting into a suspect material without proper identification can turn a moisture problem into a more serious exposure risk.
Containment Protects the Rest of the Property
Once the scope is clear, the affected work area is isolated before demolition or remediation begins. In this example, the bathroom and the damaged section of ceiling below are separated from occupied areas using professional containment procedures. Depending on the conditions and materials involved, this can include sealed barriers, controlled entry, and air-management equipment.
Containment is not just for large mold events. Removing wet drywall and insulation can release dust, debris, and microbial particles into clean parts of the home. A disciplined setup helps protect furnishings, occupants, and unaffected rooms while allowing technicians to work efficiently.
The required level of containment depends on the extent of damage, the presence of visible growth, the materials being disturbed, and the building's use. A single-family home, a tenant-occupied apartment, and a commercial office may require different access controls and scheduling. For a business, work may also need to be phased to reduce disruption to employees and customers.
Selective Removal and Moisture Damage Remediation
In this moisture damage restoration example, the affected ceiling drywall is removed because it has lost structural integrity and cannot be adequately dried. Wet insulation is bagged and removed. In the bathroom, a limited section of flooring and subfloor is opened to inspect the framing below the repaired plumbing line.
Selective removal is a key part of responsible restoration. Taking out too little can leave moisture or damaged materials concealed in the assembly. Taking out too much can increase cost, extend the project, and create unnecessary repairs. Experienced technicians work from moisture readings, material condition, and documented observations rather than relying on appearance alone.
When microbial growth is present, the affected area is cleaned using appropriate methods for the surface and level of contamination. Non-salvageable porous materials are removed. Structural components that can be retained are cleaned and treated as needed, then dried under controlled conditions. The focus is on correcting the moisture condition that allowed growth to develop, not simply covering odors with a deodorizer or applying paint over stained surfaces.
A musty smell should not be treated as proof of mold, and the absence of a smell does not prove that an area is dry. Professional assessment and moisture verification provide a more dependable basis for decisions.
Drying Is Measured, Not Assumed
After removal and cleaning, drying equipment is positioned to move moisture out of the remaining structure. Air movers, dehumidifiers, and controlled airflow may be used based on the size of the affected area and the materials involved. Equipment placement is adjusted as readings change.
Drying is not complete because a surface feels dry to the touch. Materials need to reach an appropriate moisture condition relative to unaffected building components and the local environment. Technicians take and record readings throughout the process so decisions are supported by evidence, not guesswork.
In the bathroom leak scenario, drying may take several days. A dense wood framing assembly, limited ventilation, cool weather, or moisture trapped beneath flooring can extend that timeline. Starting reconstruction too early can trap residual moisture behind new finishes, creating conditions for future staining, odors, or microbial growth.
Documentation Provides Confidence and Accountability
A well-managed project produces a clear record of what was found, what was removed, how the area was dried, and what repairs were completed. This can be valuable for homeowners, landlords, insurers, and commercial property managers.
For this example, project documentation might include initial moisture readings, photographs of the affected areas, a record of removed materials, drying logs, and final moisture verification. If hazardous materials are involved, the documentation should also reflect the appropriate abatement and disposal process.
This information helps property owners understand why certain work was necessary. It can also be useful if questions arise later during a sale, insurance discussion, tenant turnover, or future renovation. Good documentation does not replace quality work, but it makes the work easier to verify.
Restoration Means Putting the Space Back Together
The final stage is where a restoration contractor's construction capability makes a practical difference. After the area is dry and ready for rebuilding, repairs can begin. In this case, that may include replacing insulation, repairing the subfloor, installing new drywall, finishing seams, painting the ceiling, reinstalling trim, and restoring the bathroom floor.
There are trade-offs during this phase. Matching an older ceiling texture or discontinued flooring may be difficult, and a small repair can reveal that adjacent finishes are worn or incompatible. Property owners should receive clear options before work proceeds, especially when a repair may affect the appearance of a larger room.
A turnkey provider such as DS Environmental can manage the remediation and restoration work under one accountable process. That reduces the risk of gaps between the drying crew, remediation contractor, and repair contractor. It also gives the owner a clearer path from initial damage through final finishing.
What This Example Teaches Property Owners
The lesson is not that every leak requires extensive demolition. Some moisture events can be resolved quickly when discovered early, the source is corrected, and affected materials are dried promptly. Others require a more involved response because water has been present for longer, traveled farther, or affected materials that cannot be restored.
What should remain consistent is the sequence: stop the source, assess the full extent, protect unaffected areas, remove unsalvageable materials, dry and verify the structure, then rebuild. Skipping steps may make a room look repaired while leaving the underlying cause unresolved.
If you notice a new stain, peeling paint, soft flooring, recurring condensation, or a musty odor, early investigation is usually the most cost-effective decision. Addressing moisture before finishes fail can protect indoor conditions, limit repair scope, and preserve the value of the property.


Comments